How to Easily Set Up Your Amazon Fire TV Stick 4K (First-Time Setup)
Want to set up your Amazon Fire TV Stick 4K in minutes? This simple guide works for Fire Stick Lite, 2nd/3rd Gen, Fire Stick 4K / 4K Max, New Fire Stick 4K Max and Fire TV Cube. Once finished, you’ll be ready to stream Netflix, Prime Video, YouTube, Disney+, or install your favorite IPTV apps.
Table of Contents
What you need before starting
Before you start streaming, your Fire TV Stick must be powered on, connected to your TV through HDMI, paired with its remote, and linked to Wi-Fi. Don’t worry — the steps below show the exact first-time setup from A to Z.
- Amazon Fire TV Stick (4K / 4K Max or any Fire TV model)
- Power adapter + USB cable (included in the box)
- TV with an available HDMI port
- Wi-Fi connection + password
How to Setup Your Amazon Fire TV Stick 4K (Step-by-Step)
Step 1 – Plug your Fire TV Stick into power
Connect the Fire Stick to the power adapter using the USB cable, then plug the adapter into a wall outlet. Using the adapter (not just the TV USB port) helps avoid freezes or random restarts.

Step 2 – Insert the Fire Stick into an HDMI port
Plug the Fire TV Stick into an available HDMI port on the back or side of your TV. If space is tight, use the HDMI extender that comes with the device.
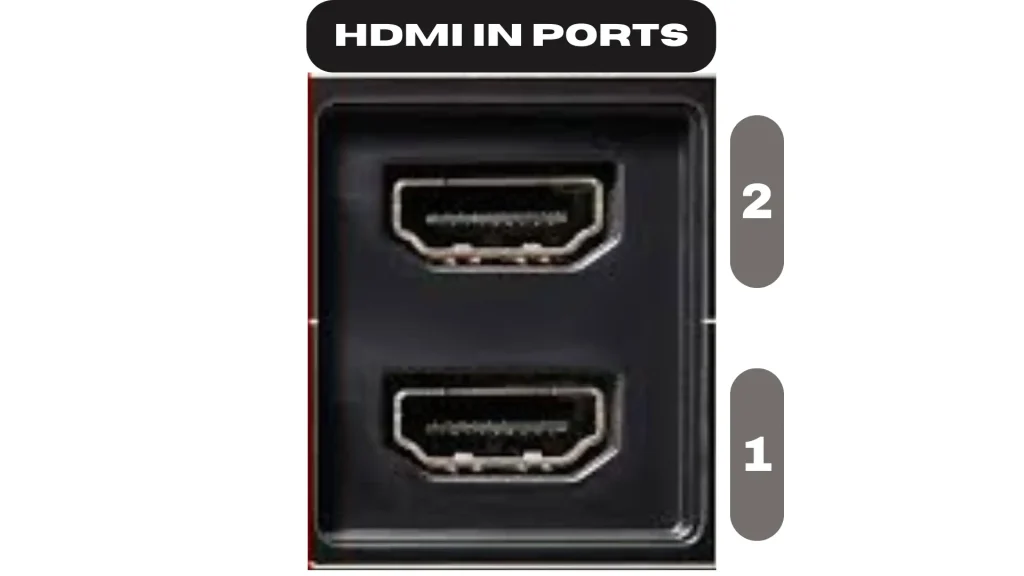
Step 3 – Identify the HDMI input you used
Take a quick look at your TV’s HDMI labels (HDMI 1, HDMI 2, etc.) You’ll need the same input in the next step.
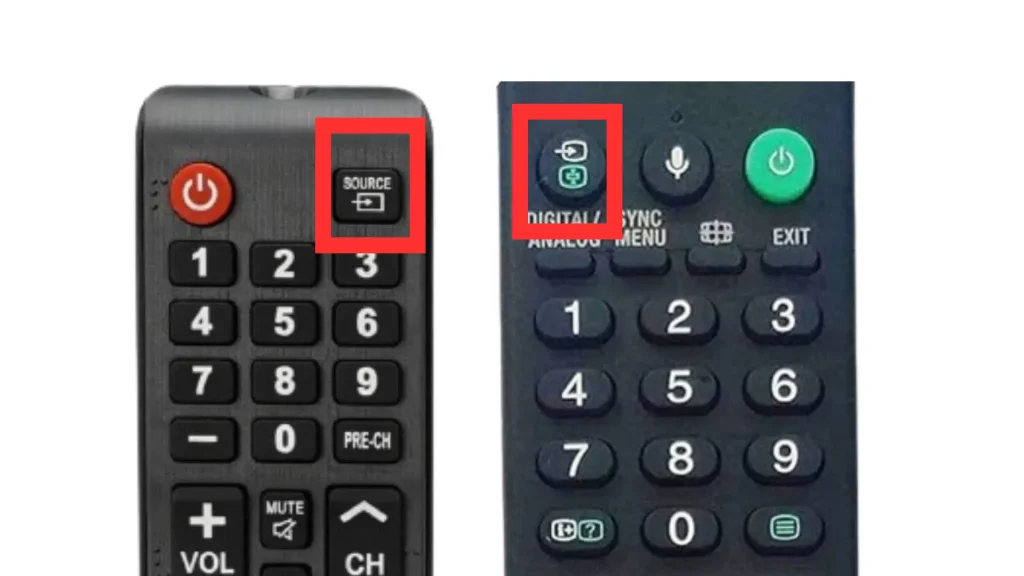
Step 4 – Switch your TV source to the correct HDMI
On your TV remote, press Source or Input, then choose the HDMI channel where your Fire Stick is connected. The Fire TV welcome screen should appear.
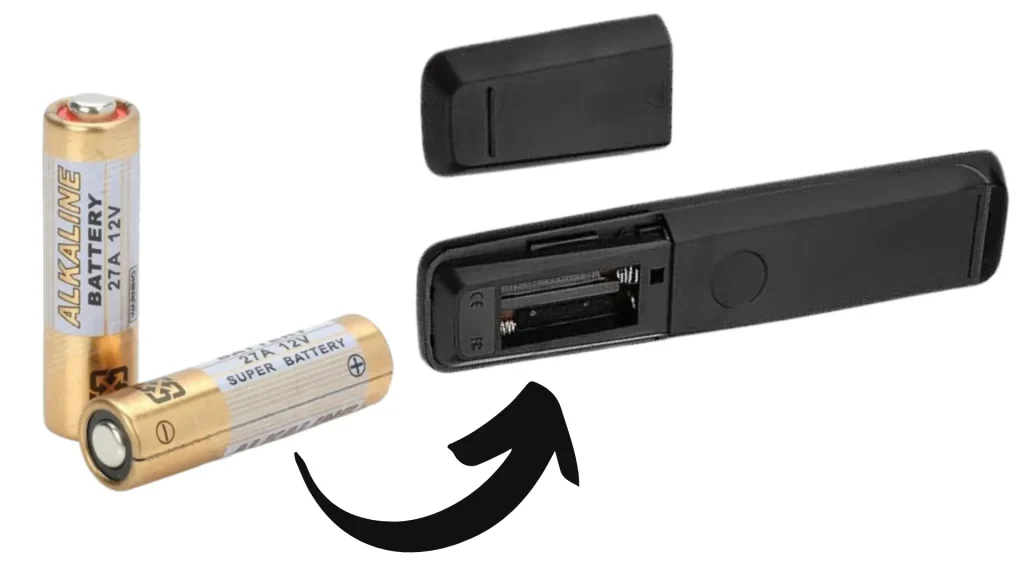
Step 5 – Insert batteries into the Fire TV remote
Open the back cover of the remote and insert two batteries. Once inserted, the remote lights up and is ready to pair.
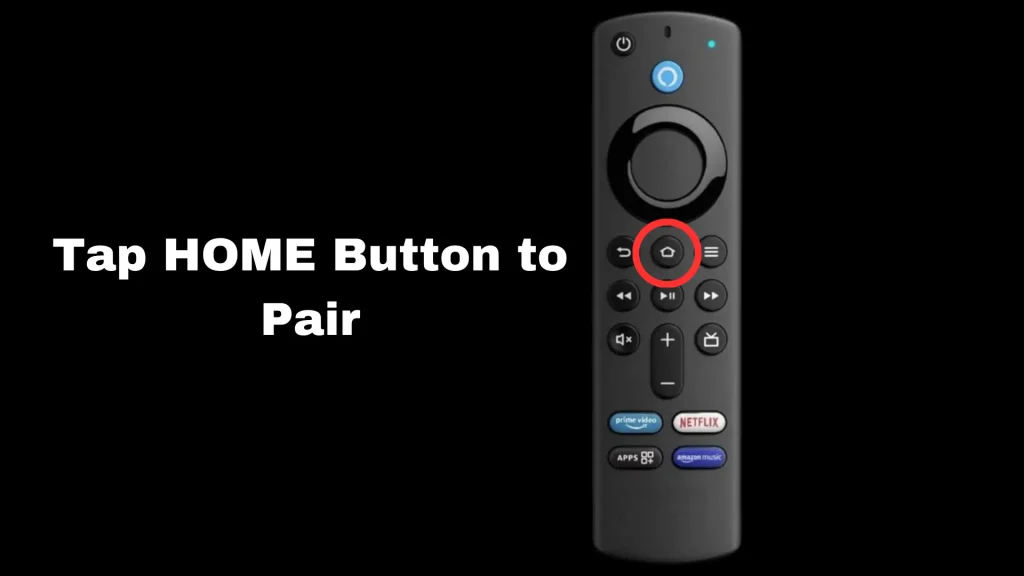
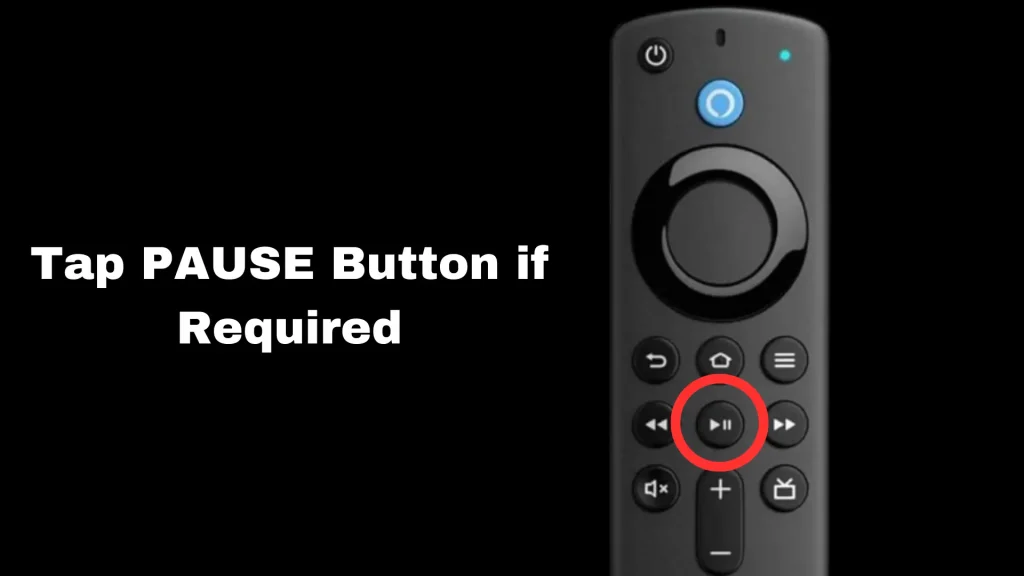
Step 6 – Pair the remote (press Home)
Press and hold the Home button for 5–10 seconds to pair the remote with your Fire Stick. When pairing is successful, the setup screen continues automatically.
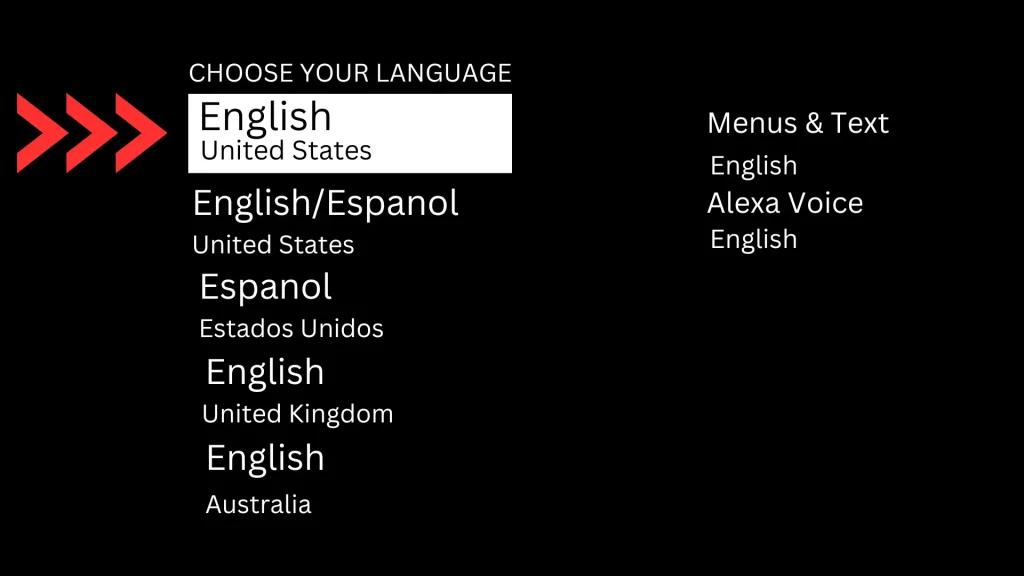
Step 7 – Choose your language
Select your preferred language using the remote arrows, then press the center button (OK).
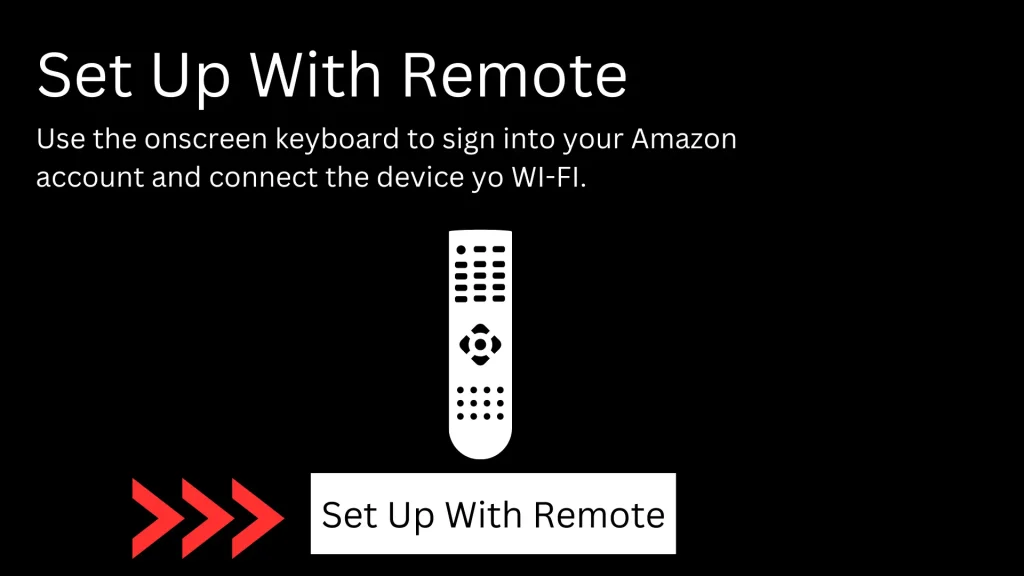
Step 8 – Start the Fire TV Stick setup
Follow the on-screen instructions. If your Fire Stick asks for an update, let it finish — it usually takes a few minutes.
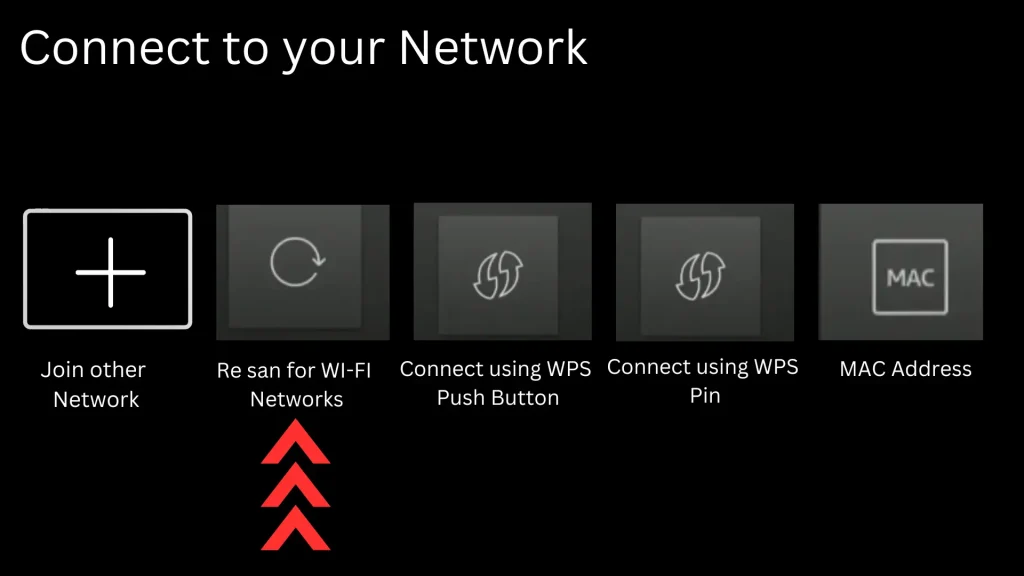
Step 9 – Connect your Fire Stick to Wi-Fi
Choose your Wi-Fi network from the list. If you don’t see it, scroll right and select Re-Scan or click Join Other Network to enter the name manually.

Step 10 – Enter Wi-Fi password and finish
Type your Wi-Fi password carefully, then connect. Your Fire TV Stick will verify the network, complete setup, and take you to the home screen. Now you can install streaming apps (Netflix, Prime Video, Disney+) or IPTV players.
After setup, install an IPTV app like XCIPTV, Smarters or TiviMate. Test Live TV, VOD & Series with a 24H free trial.